Deploy custom Strapi API connected to an Angular App

Hello there, before starting this article I want to give you a bit of context. So, I wrote an article about how to build a custom API with Strapi and fetch it from an Angular app. If you haven’t read it i’ll link it right above 🙂.
Connect custom Strapi API to an Angular App
This article is a part 2 of that article as I am going to deploy the *API* on Heroku and the *Angular app* on Netlify.
Starting by deploying Strapi API on Heroku
If you have read the previous article, you know that we generated our Strapi project with a --quickstart tag. By default this set the database of our project to *sqlite. *Well, i’ll be changing this to mongodb, of course your are free to choose the database of your choice. Strapi as documentation about how to change this.
https://strapi.io/documentation/v3.x/guides/databases.html#databases
⚠ ️Attention! For information, by changing our database we are overriding our data. So the projects content-type we’ve build before will stay there. But our actual project data will disappear. And we’ll also be creating a new user.
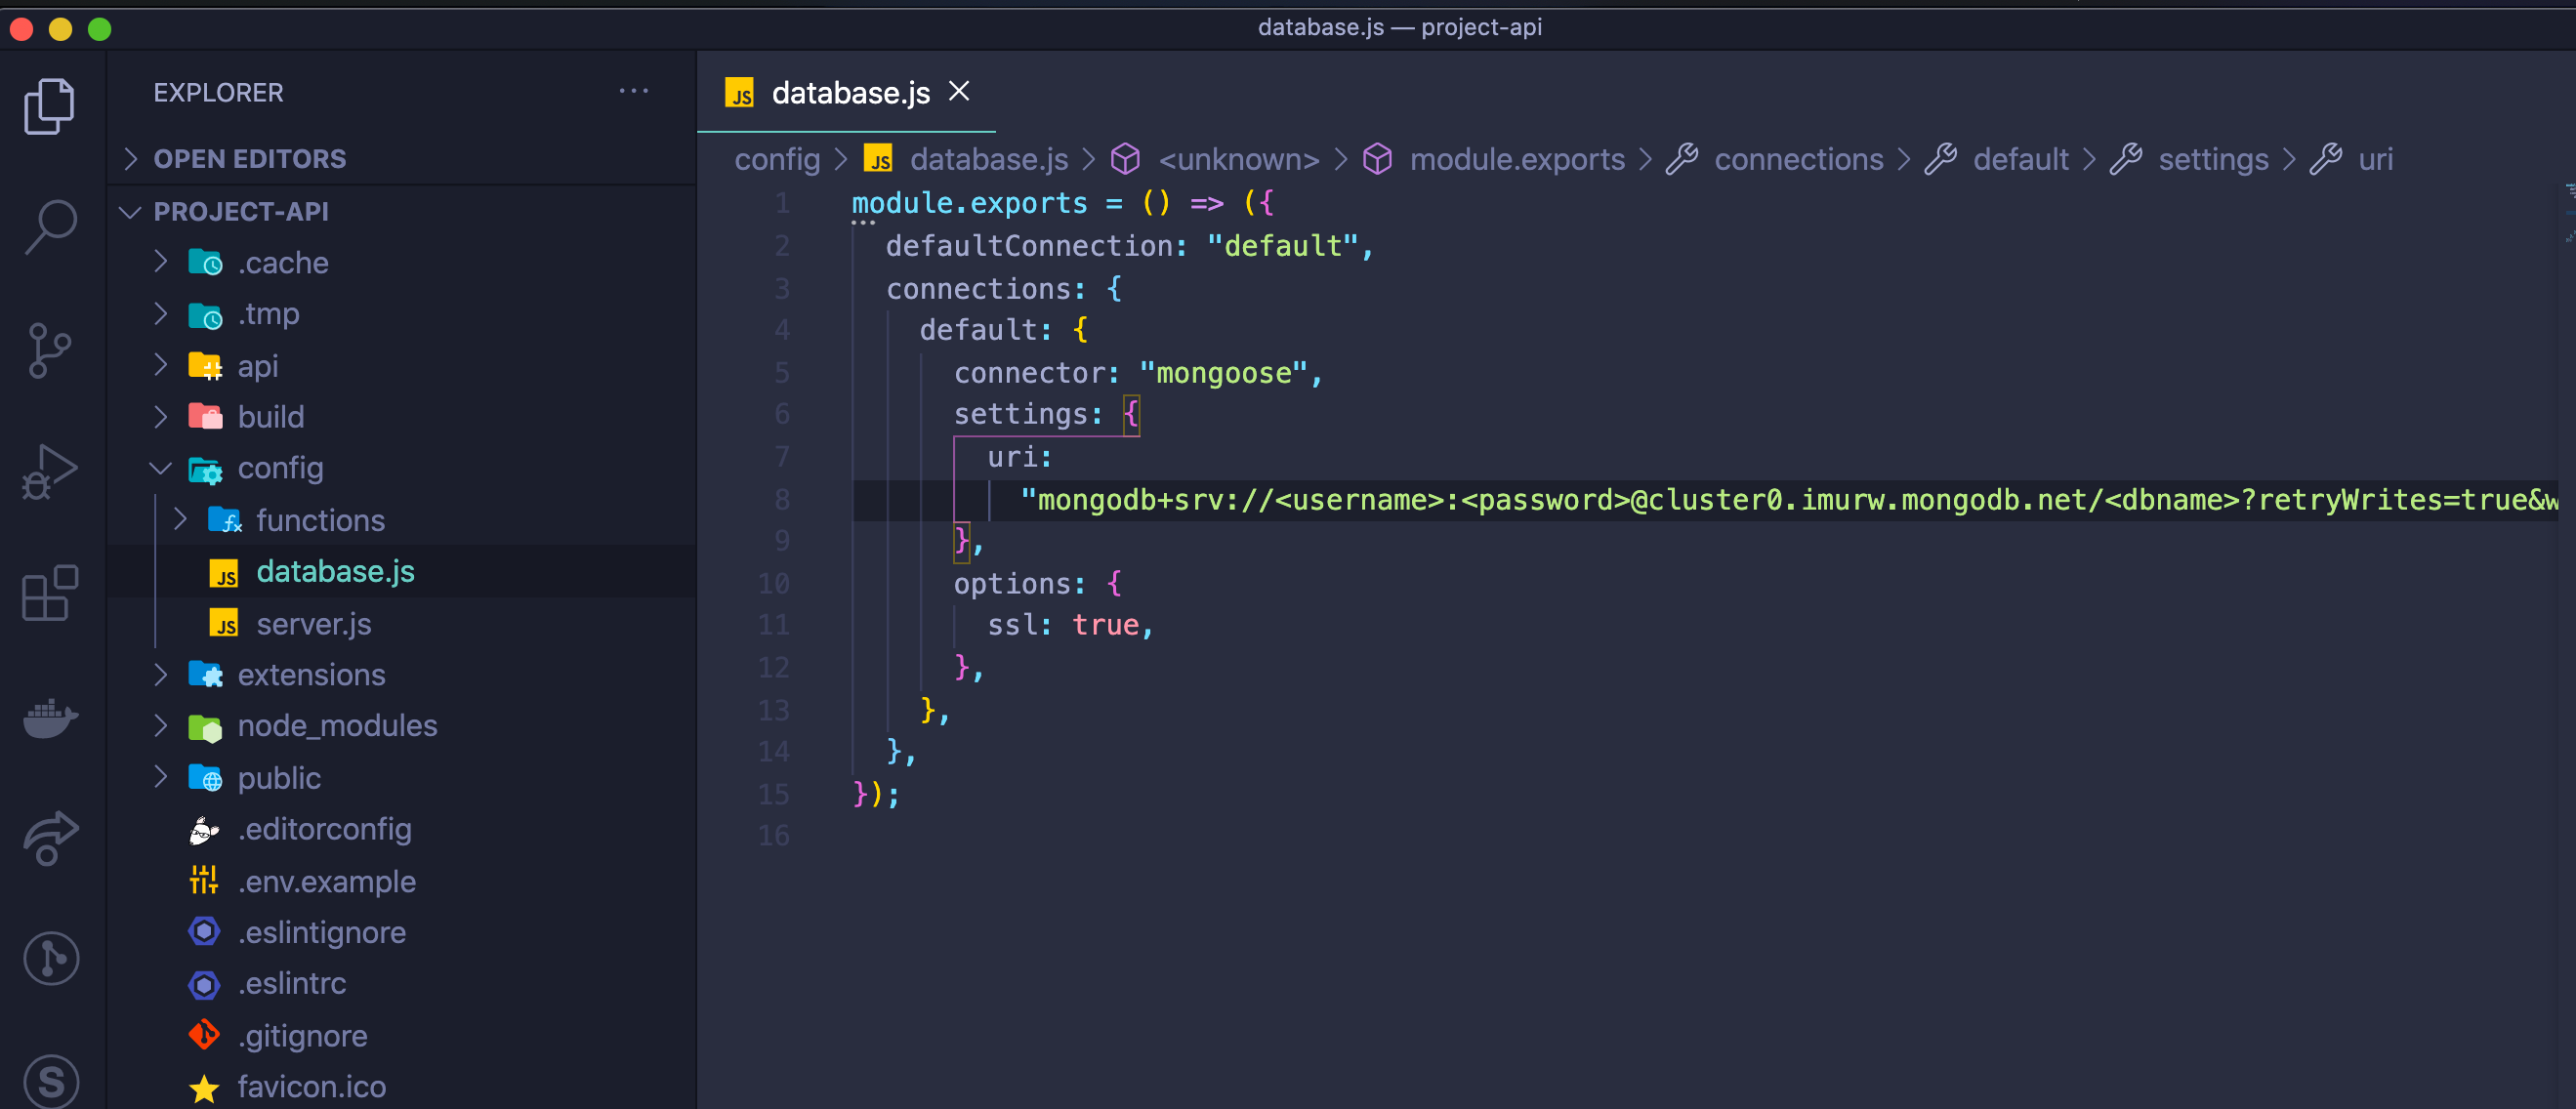
Assuming you already have mongodb or the database you’ve choose installed on your machine let’s head back to our project-api and launch it on out text editor. There we need to change the following file: config/database.js


Here we are going to change our connector to mongoose. Also for now I’ll be removing the unused *env* argument because i’ll not be using environment variables but you can do it you are pushing this to a public repository for example, it is better 🙂 . You just have to create a .env file and paste your variables there.
Finally in my settings i’ll remove the *client *and *filename* properties and change it to a single uri property and in my options change useNullasDefault to ssl.

Before talking about what we are going to paste in uri, let’s install the strapi package to use mongoose. Just have to run npm i strapi-connector-mongoose

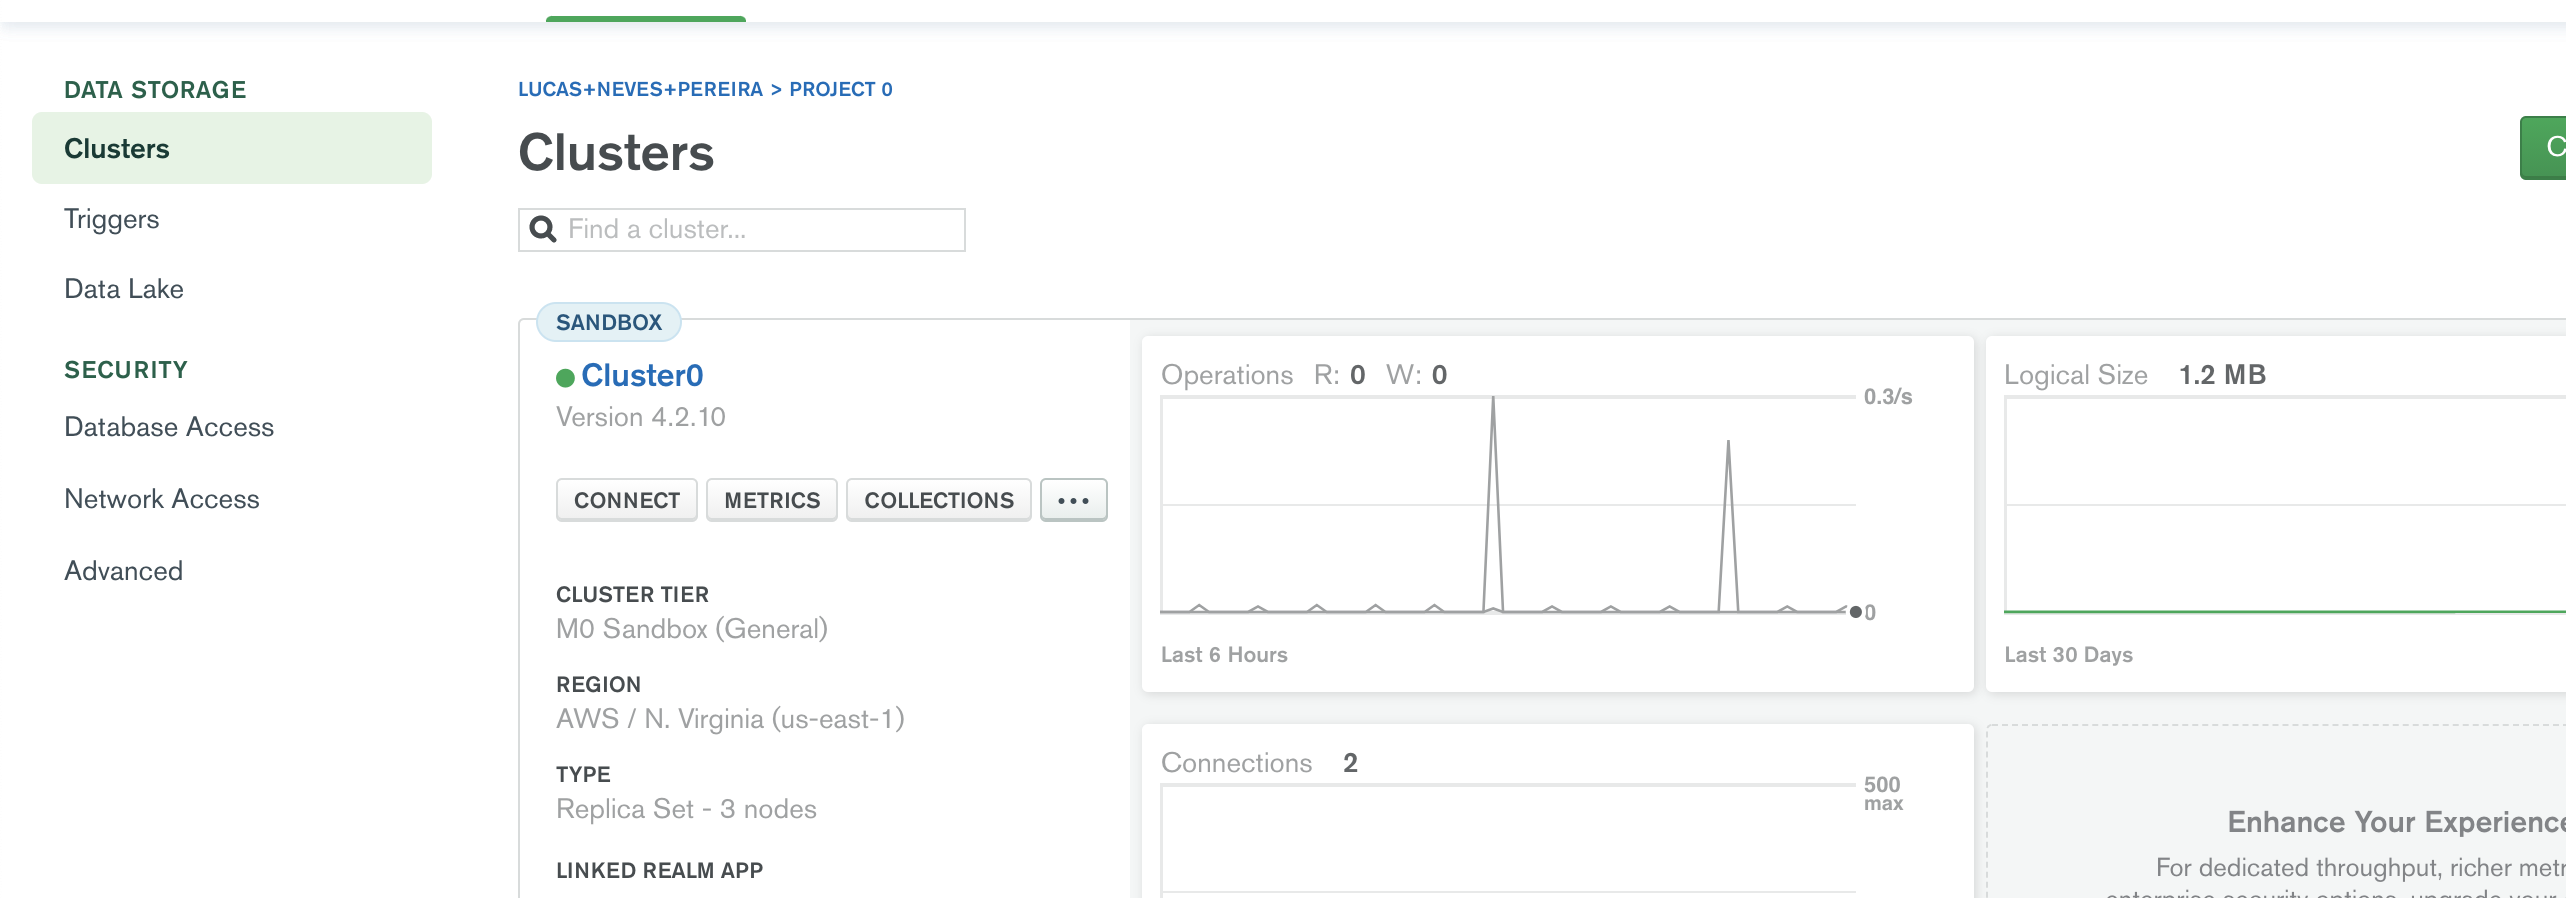
Okay, now in our uri we need to paste the “link” to our database on mongodb atlas. For that you’ll have to create a cluster. I already have one that’ll be using. If you have no clue about how to create one I’ll paste a link to the docs 🙂.
https://docs.atlas.mongodb.com/tutorial/create-new-cluster/
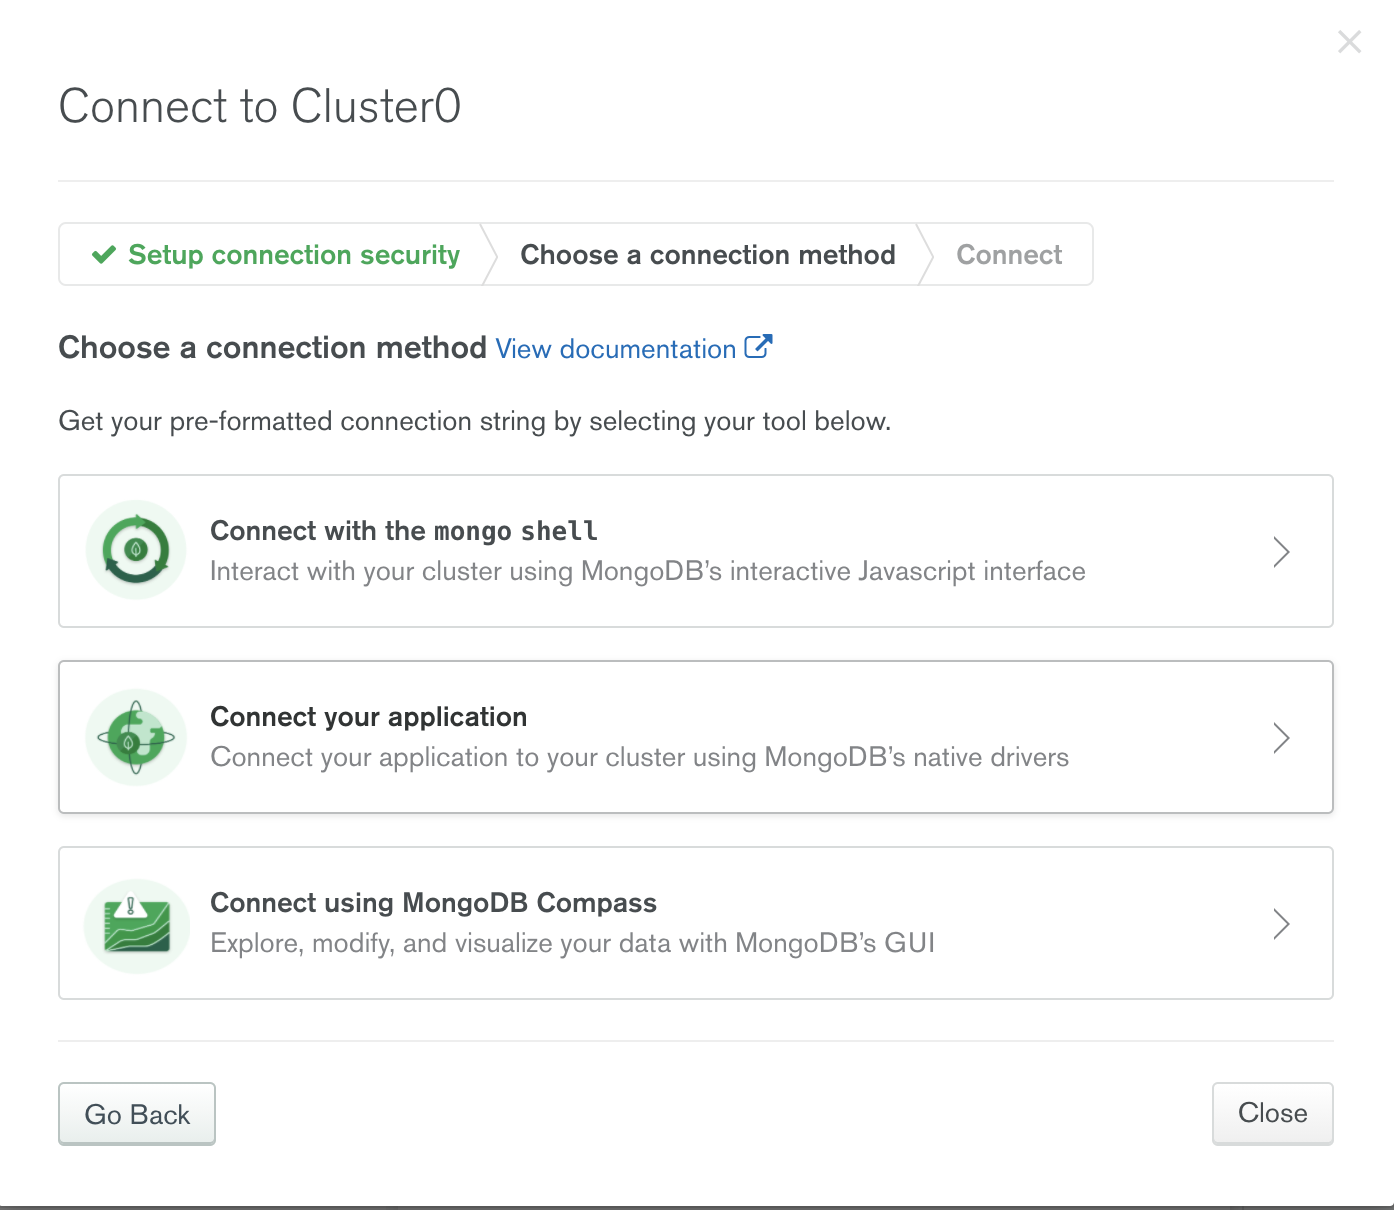
Now in our cluster, hoping you’ve created a cluster with a project. We can connect our project to our mongodb database. Just go to Connect > Connect your application > Copy the srv uri.

Now back to our database.js we will be pasting that uri to our property and change the

After adding your infos to the mongodb uri string, let’s run npm run develop and create our new user.
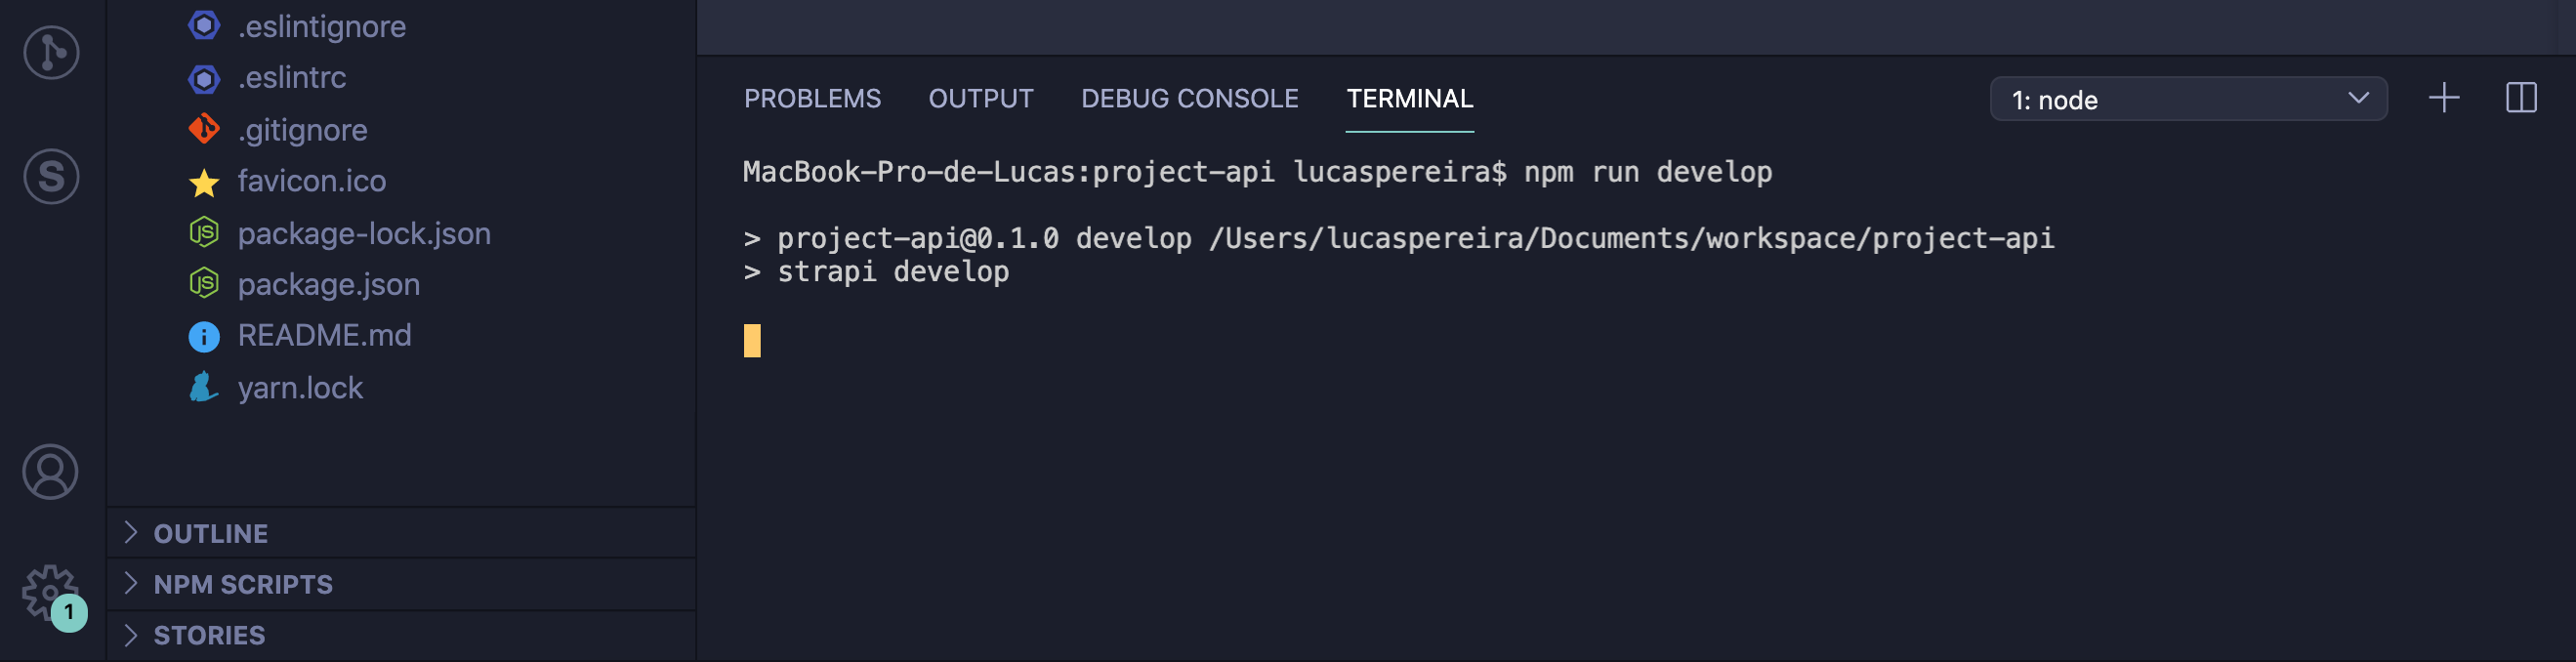
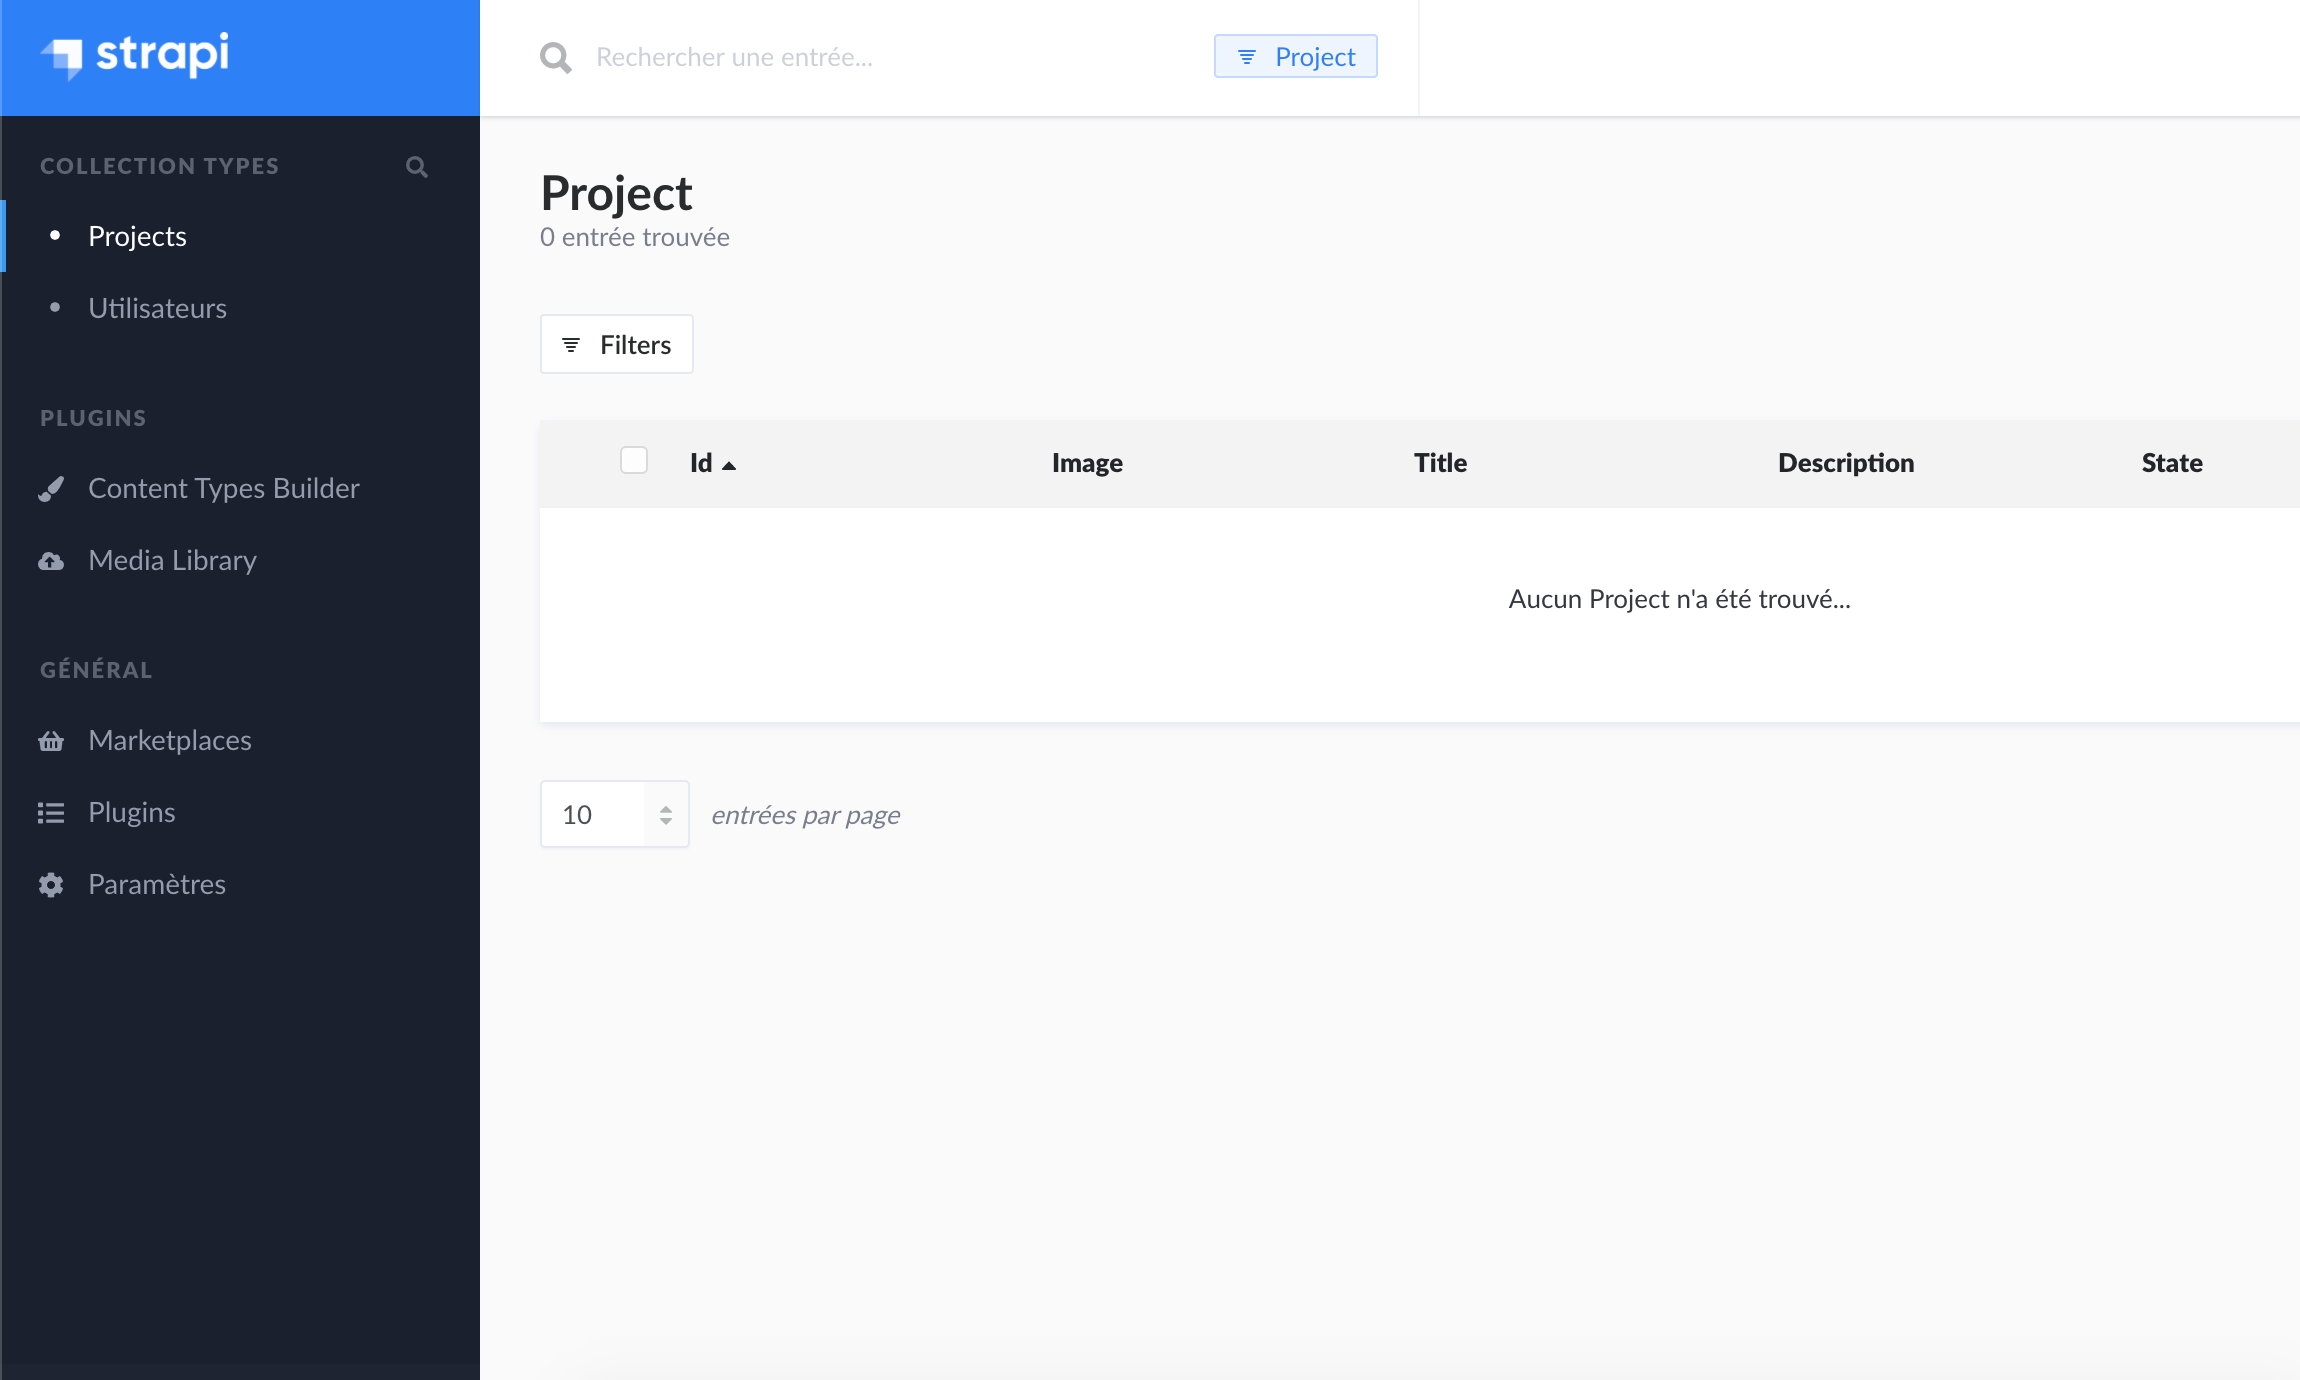
Perfect, now we see that we still have our projects content-type but we need to add them again. Let’s do that and then it is finally time to deploy this.

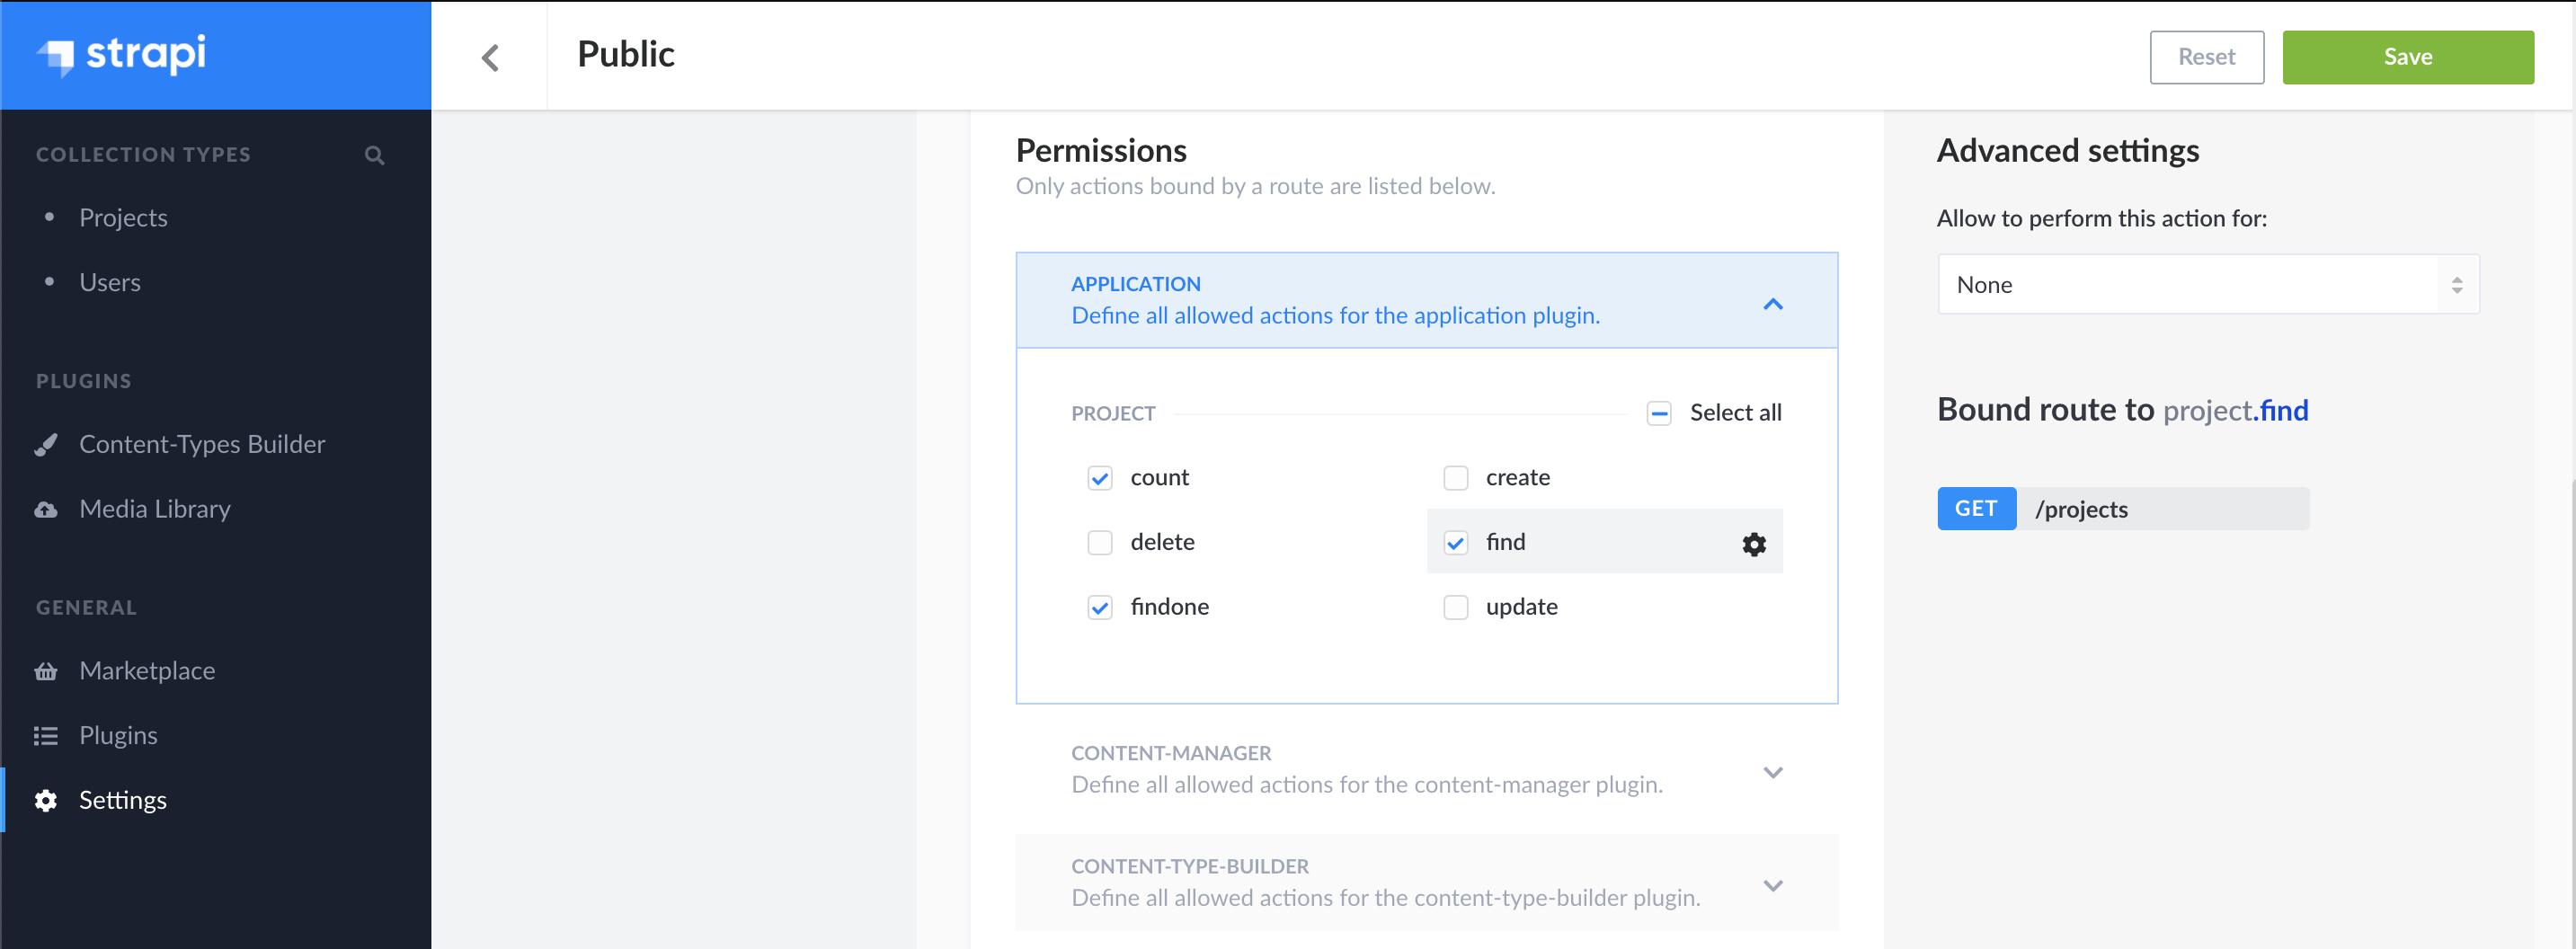
You also need to give public permissions so our front end can fetch the API with all our projects.
Alright now time to deploy our API. I’ll be using Heroku. First of all init git on your projet by running git init on a new terminal window.

Then if you already know heroku and have an account, run heroku login . If not, create an heroku account on https://www.heroku.com/home and then back on your terminal run heroku login

After stopping our server on localhost:1337 and runned heroku login
Now you can use heroku dashboard to create an app or just use the heroku cli and run heroku create or heroku create <app-name> if you want to tag your app with a custom name.

The command heroku create added a remote repository. If you run git remote -v you can see where you are pushing your project.
Before pushing we need to add our files and commit them.

Now all we have to do is push our project to heroku and run git push heroku master:main
Information: Following changes in the industry, Heroku has updated our default git branch name to *main*.

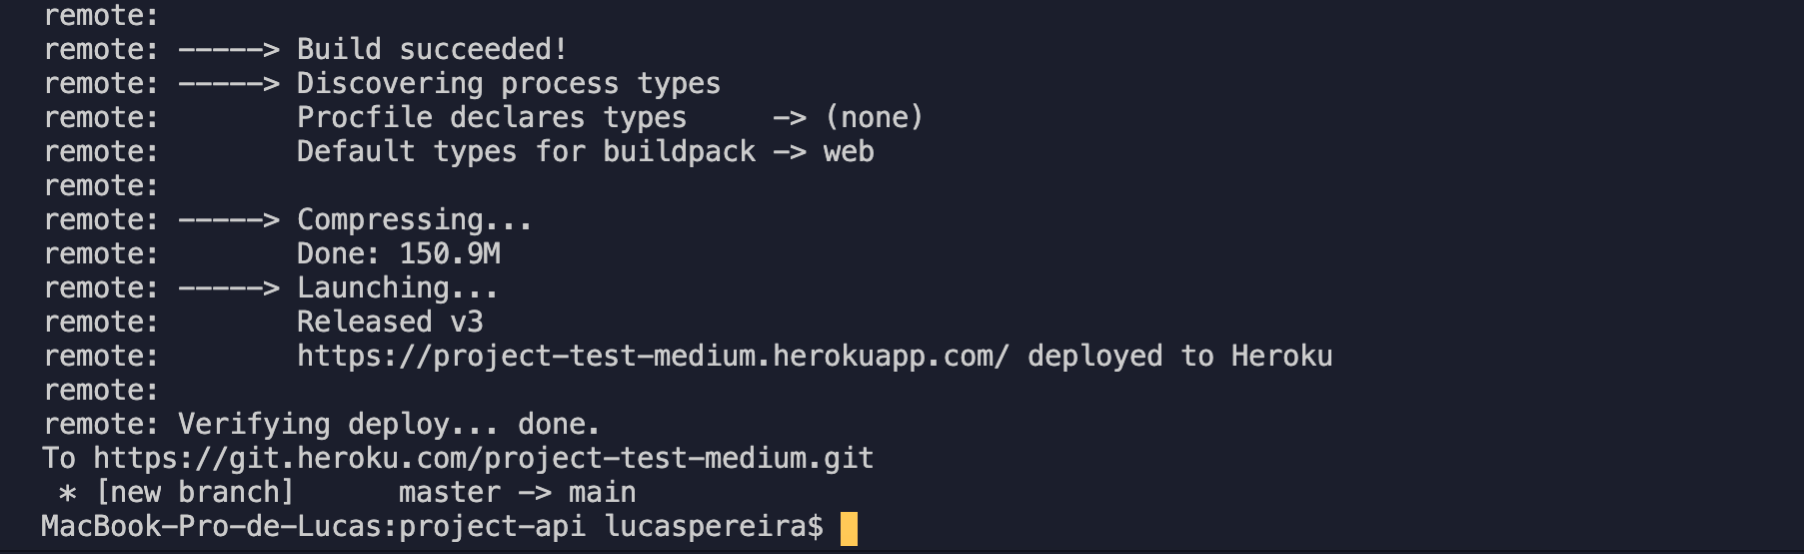
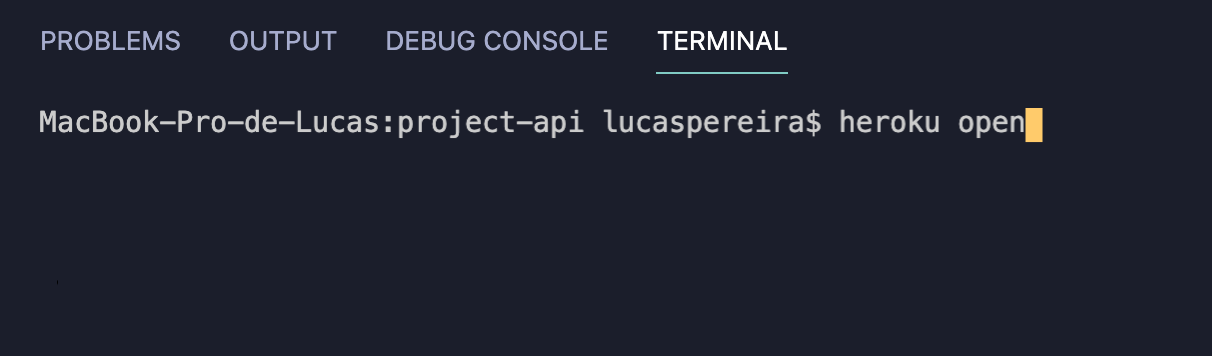
Perfect 😀, my project is deployed on https://project-test-medium.herokuapp.com/ now to test this just run heroku open and hopefully it will open your browser with a nice Strapi page hosted on heroku.
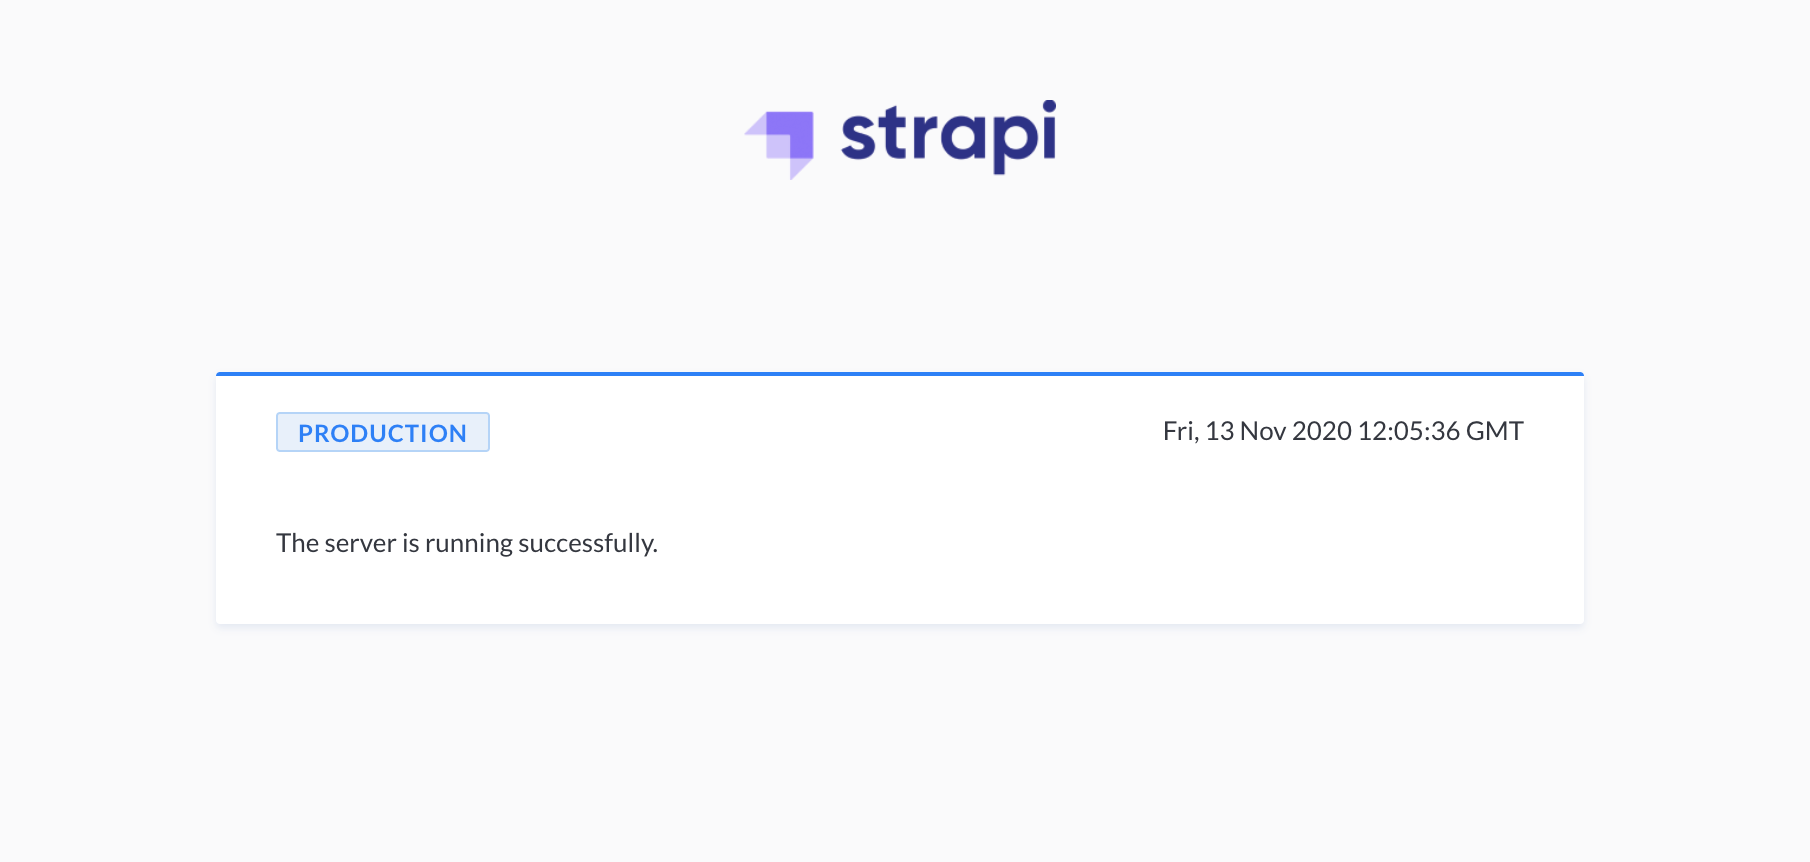
Well done! Our Strapi API it’s in production 👍🏼
Finishing by deploying Angular App on Netlify
It is time to deploy our front end to Netlify. First create an account on https://www.netlify.com/ if you don’t have one.
Netlify works great with git, but I’m choosing to show to do a manual deploy just to show how simple it is with Netlify.
Let’s head over to our angular app and open it in our text editor 🙂

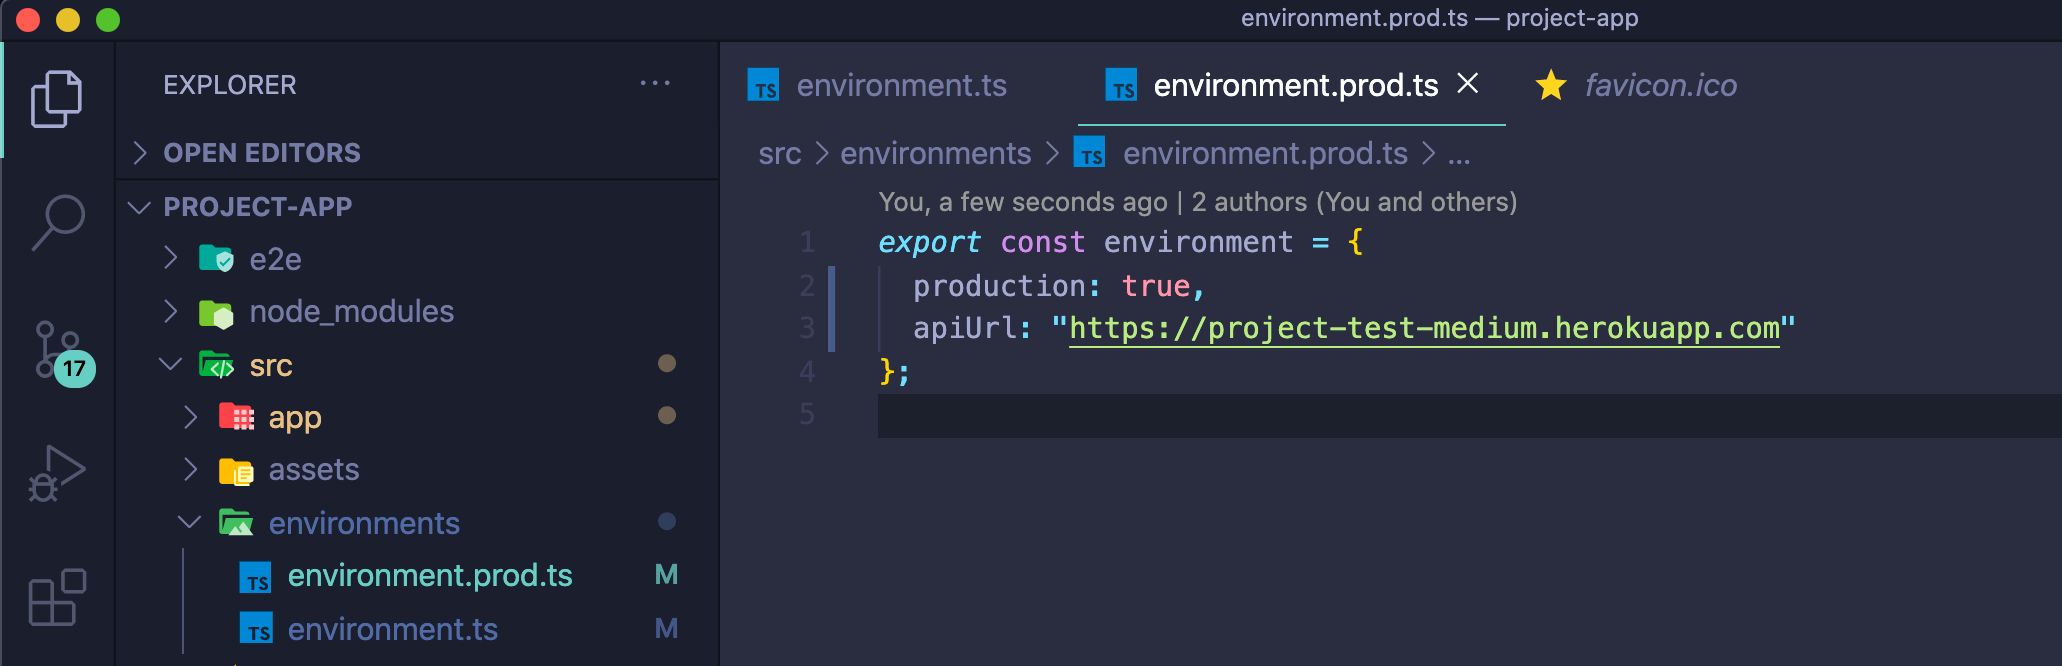
There open your environment.prod.ts file and add the apiUrl property with your heroku strapi api url
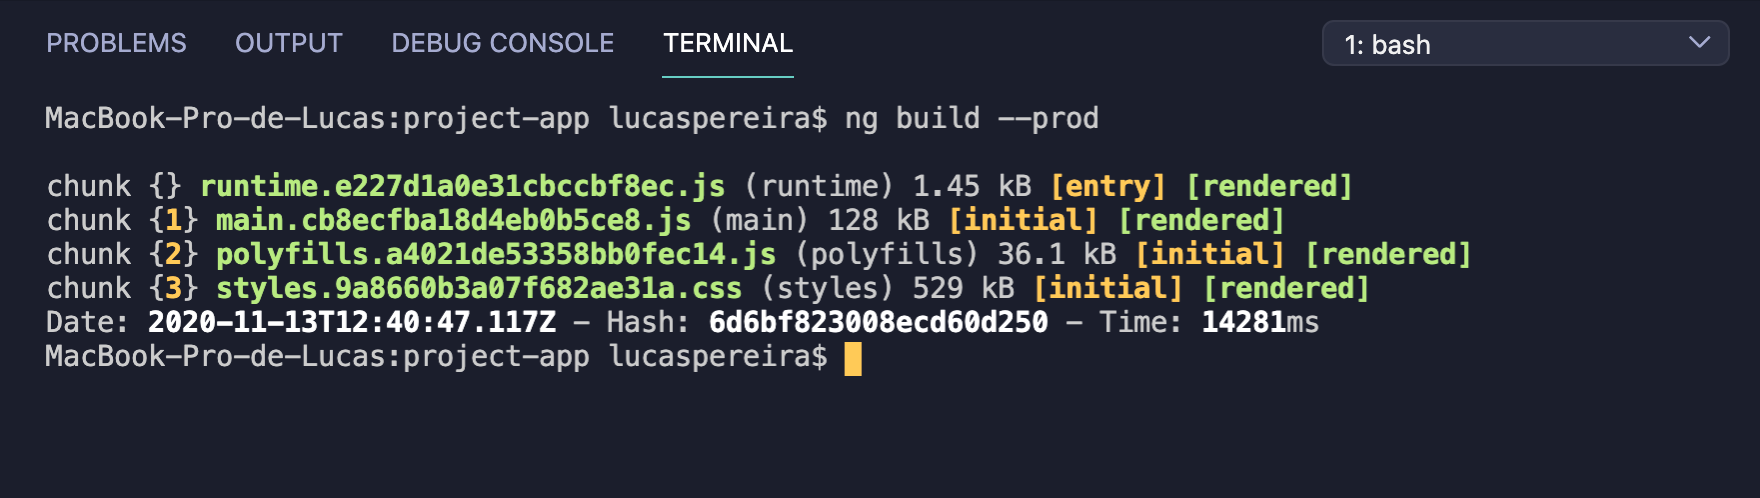
Now let’s build our app by running ng build ----prodin our terminal. This will generate a dist folter with our builded app inside it.
Let’s reveal our builded app in the dist folder in the finder.
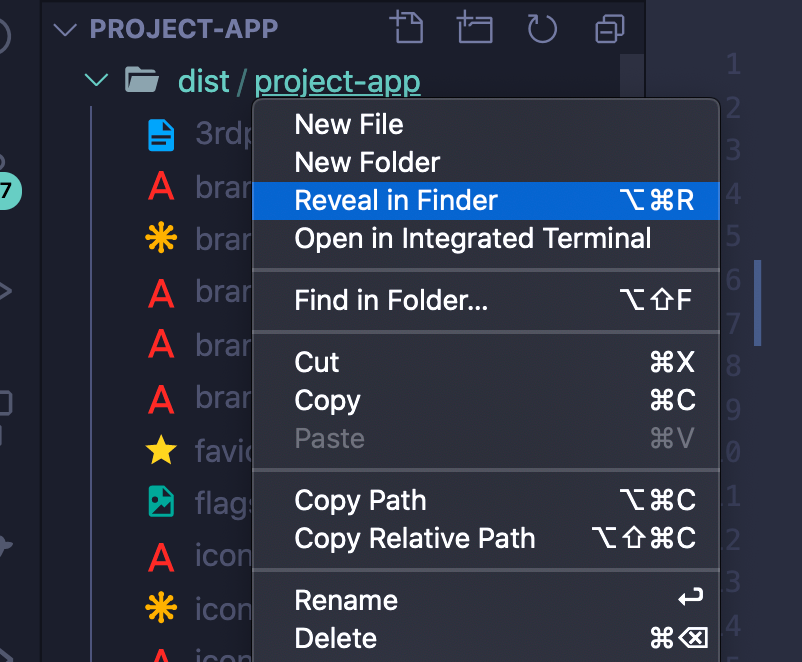

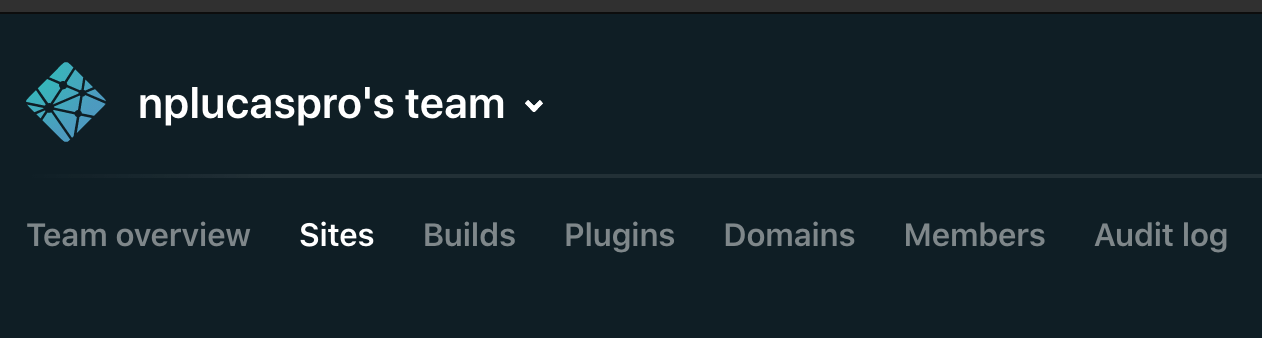
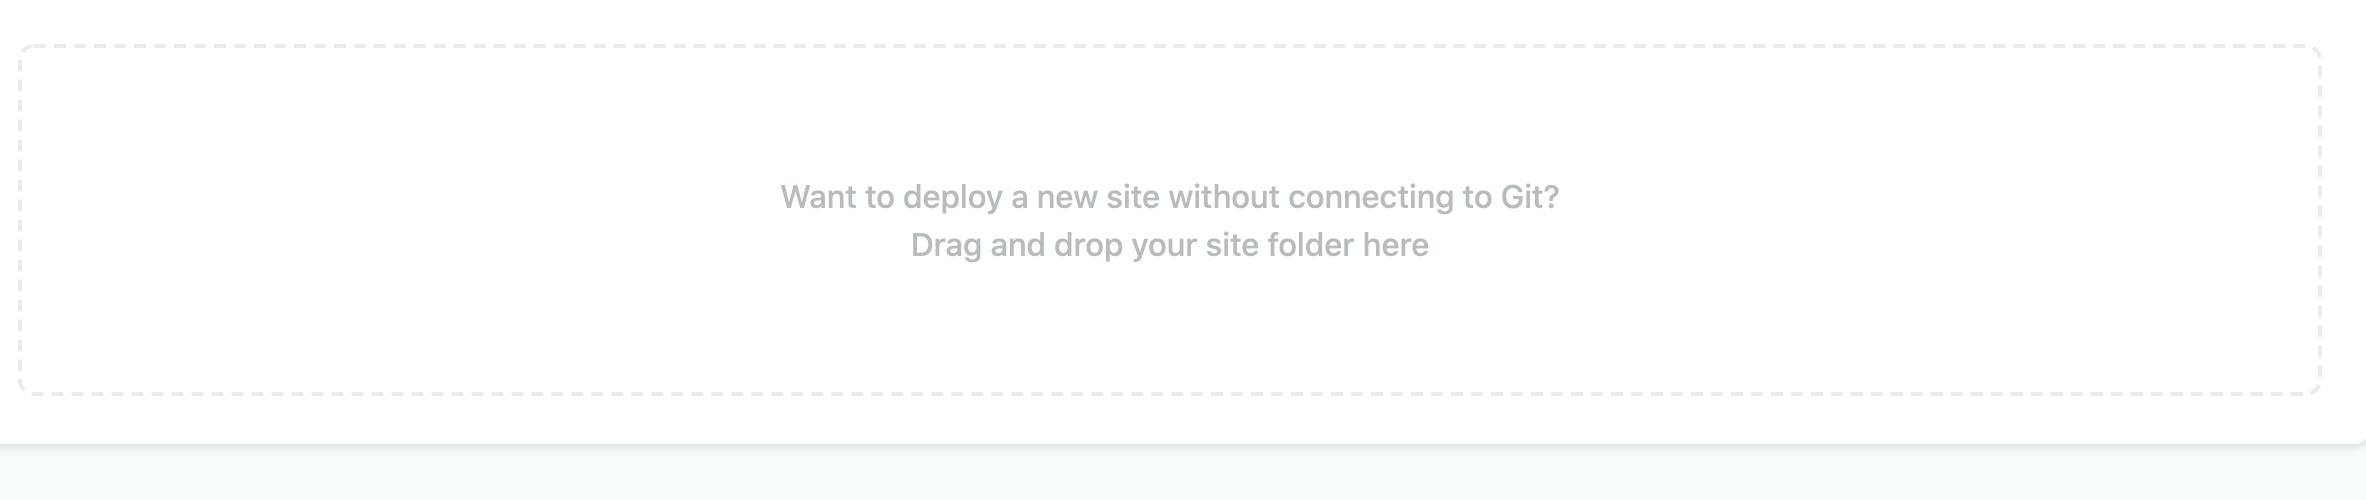
Keep this window around, because this is the folder we are going to upload in Netlify. Now back to the Netlify dashboard, once you are login, go to sites and there drag and drop the builded folder (project-app in my case).
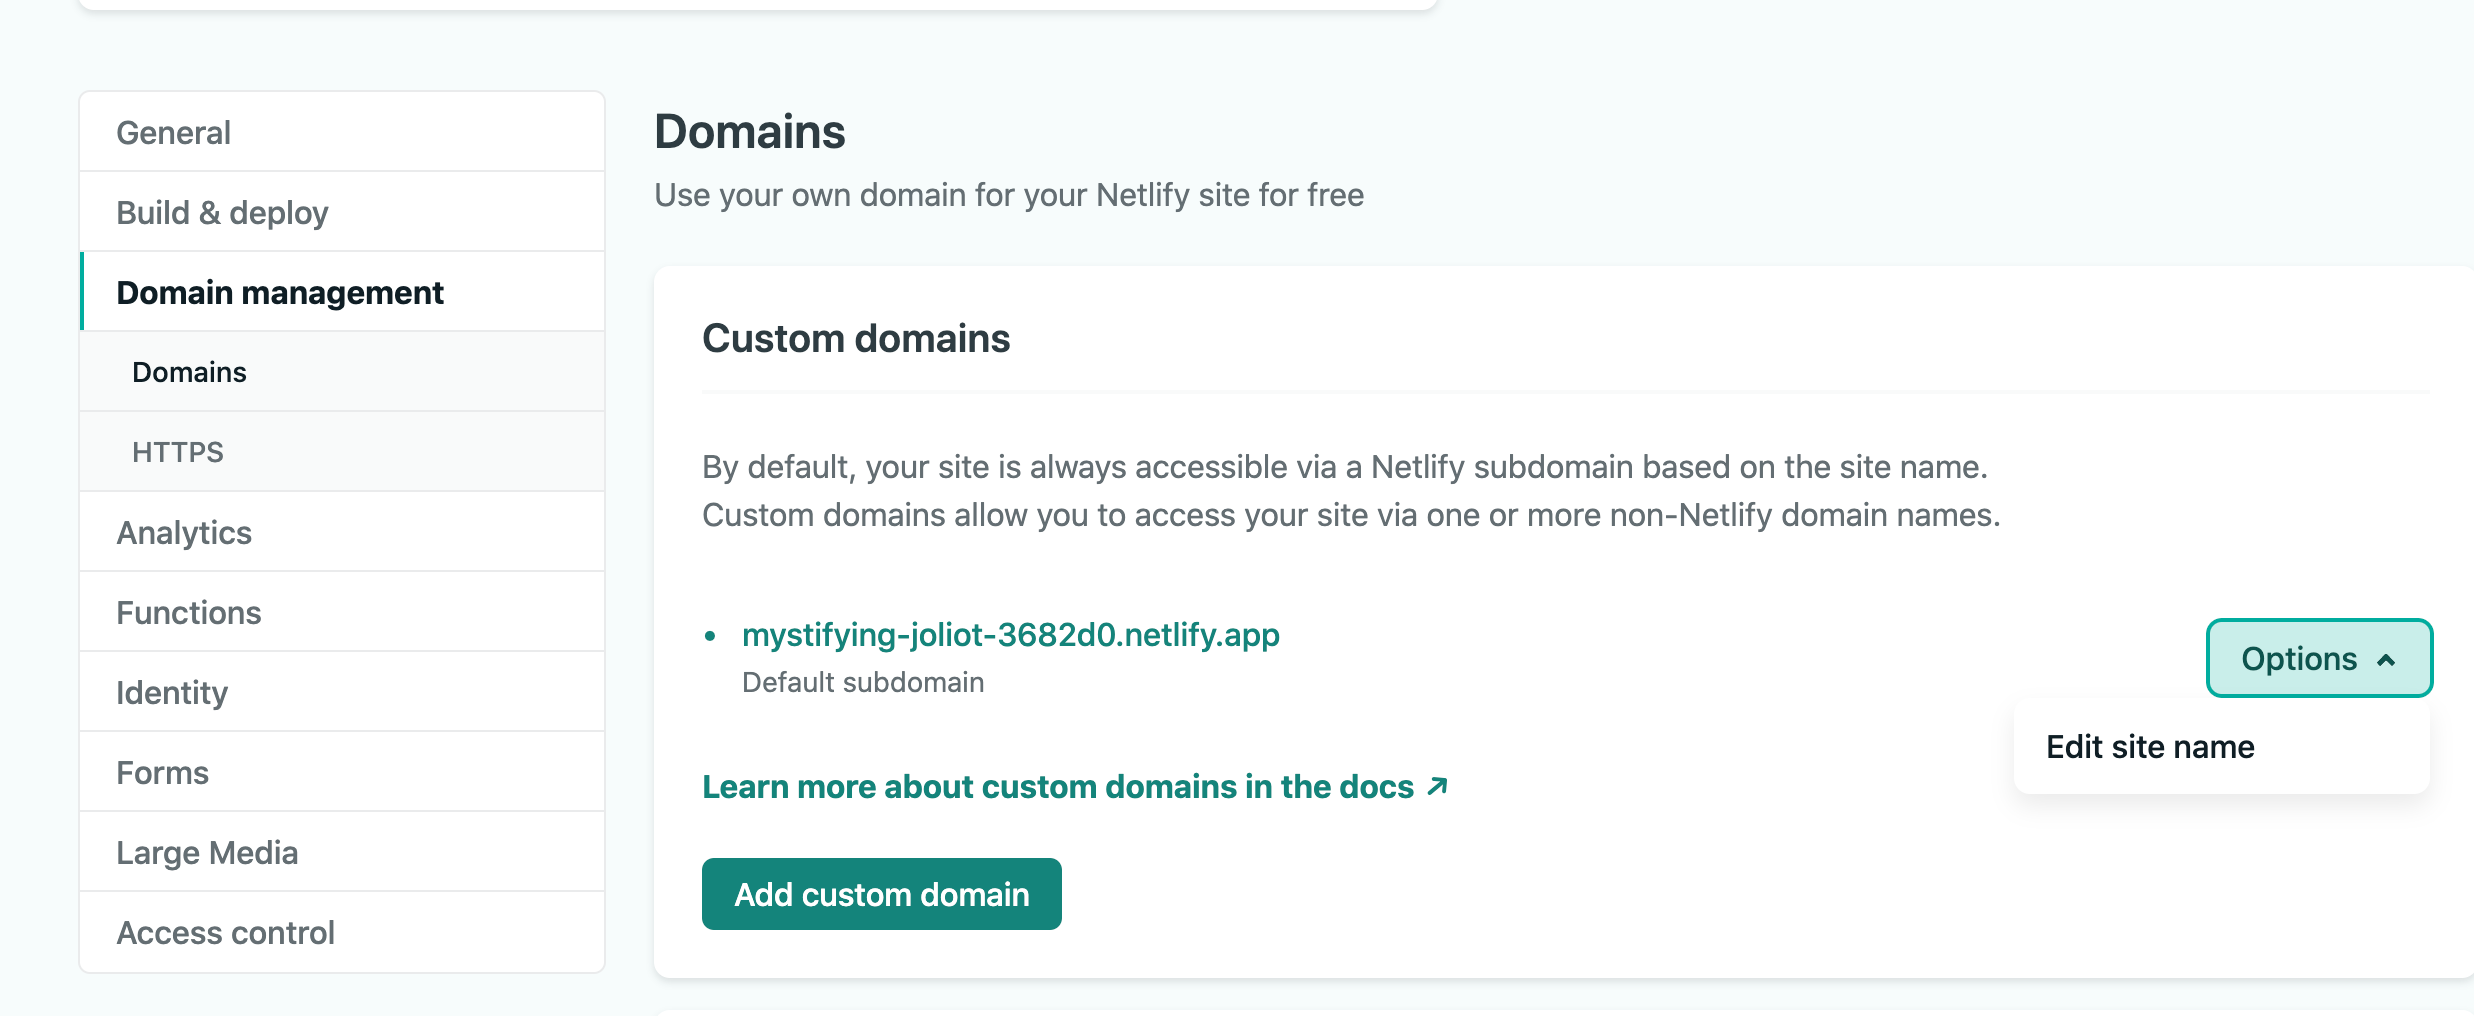
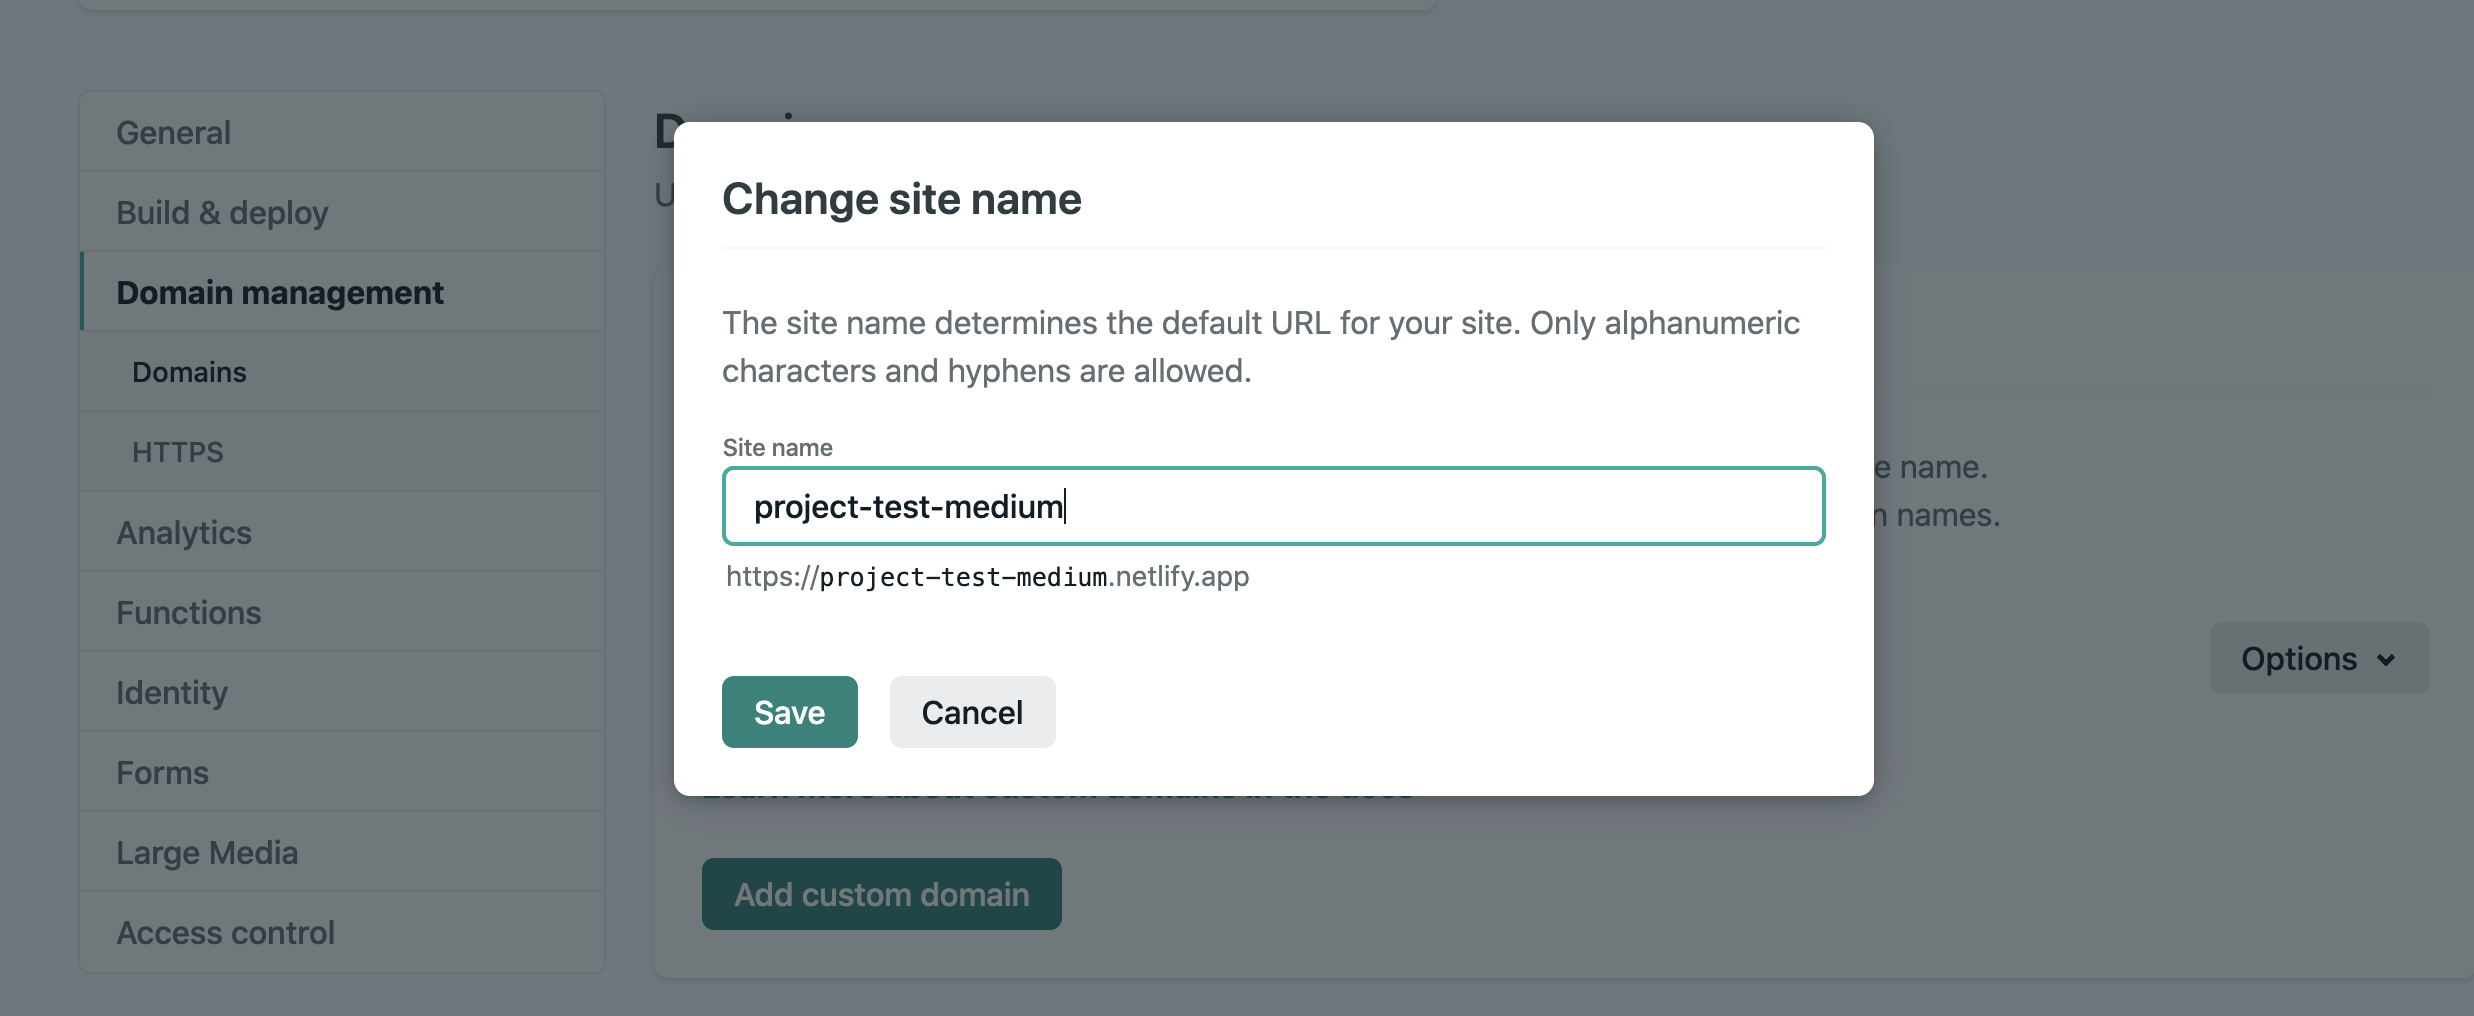
Okay perfect my app is deployed, now if you want to change the domain name that it is given by default go to *Domain Settings > Options > Edit site name *and change it to whatever you want.
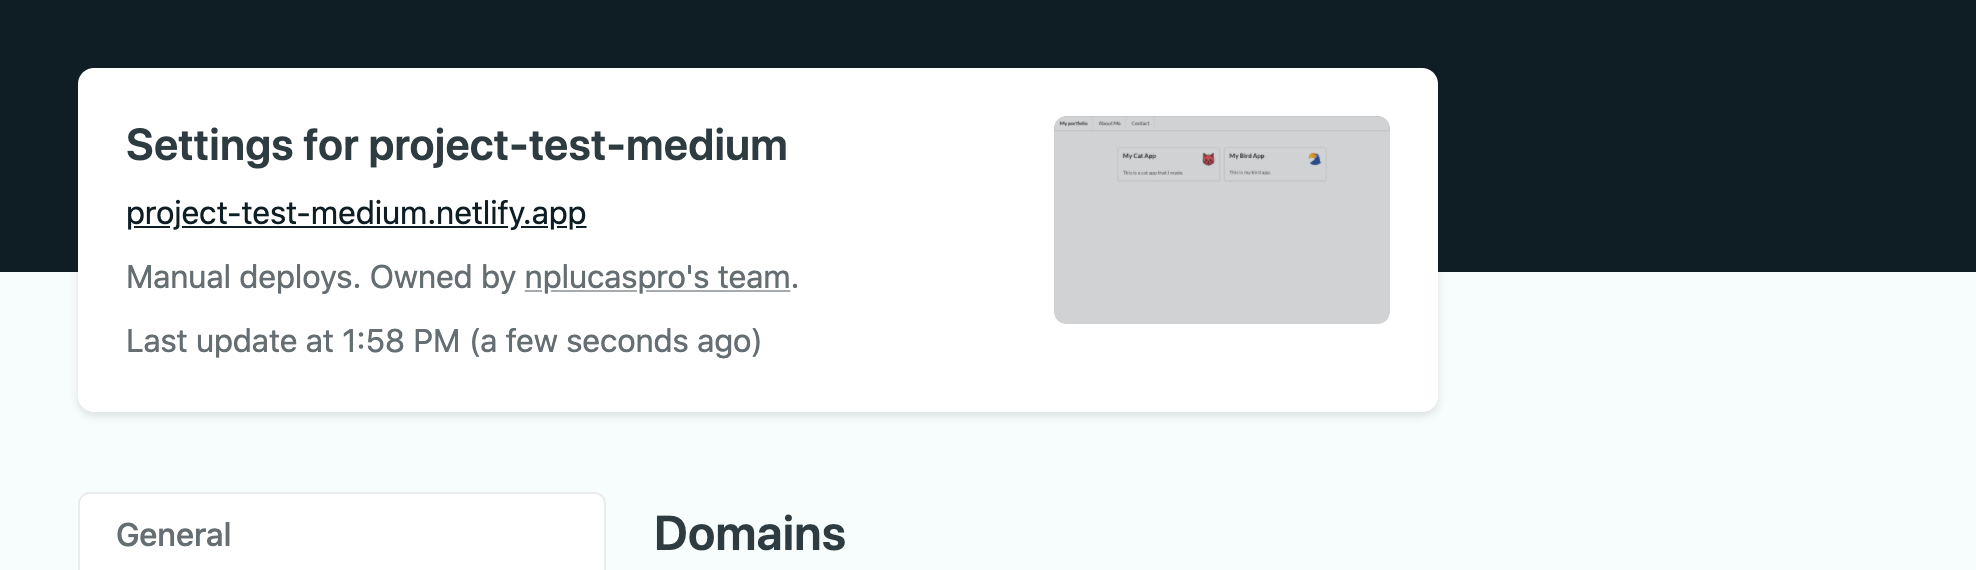
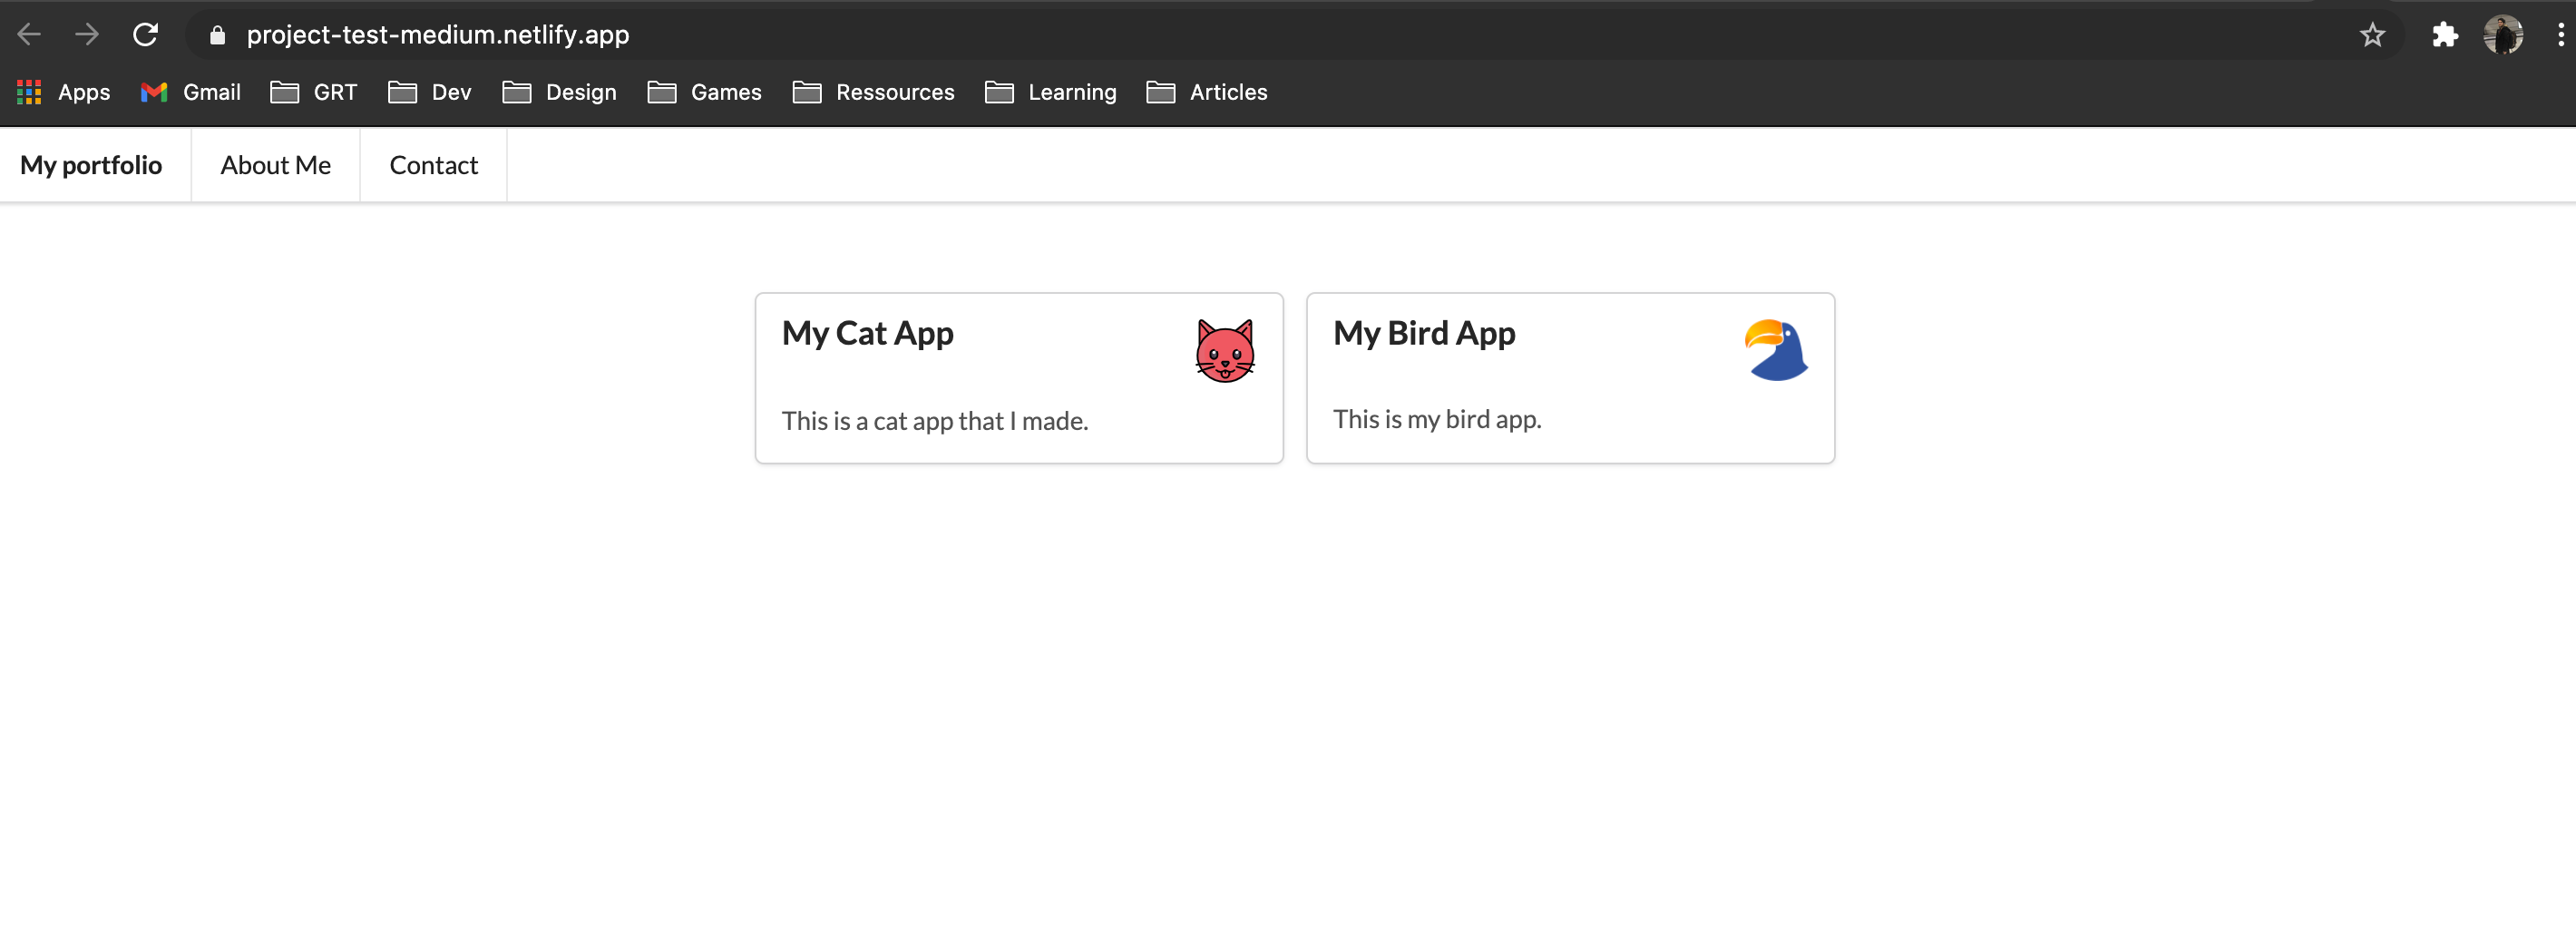
Perfect now my Angular app is deployed to Netlify and it is fetching from my heroku hosted Strapi API 😀
We are officially done.
I hope you have liked this article, don’t hesitate to contact me if you have any feedbacks or questions. I’ll be glad to talk to you.
See you soon !!! 😀